Hello
Don't forget to read our latest modelling tips located at the bottom of the newsletter.
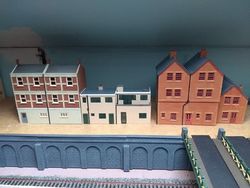
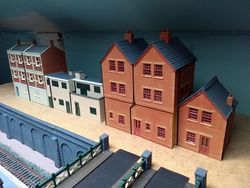
The answer to the question we asked last week: "can you identify the kits used for the three buildings Tony Careless built?"
The answers, in what might be ascending order of difficulty, are:
Centre building: a Dapol/Airfix "shop with flat above", cut in half and turned into two backs with a nice rear facing balcony for the lucky tenant to watch the trains coming in and out of the station below.
Right hand building: A Peco Manyways "Station Houses” kit, bashed and stacked.
Left hand building: a very old Triang "Woolworths” shop building with accommodation above, I found this at the bottom of an old box I had almost forgotten about, it must be decades old. It just shows you should never throw anything at way, one day it will be useful….. I wonder if anyone else has one?!
A lot of you have been using the last couple of weeks to catch up on a spot of modelling, we hope it has been going well. Why not share your projects with us and other newsletter readers? We look forward to hearing your modelling stories.
Ballasting is right up there on the list of things that you can do to your layout that will have a massive impact on its appearance.
We have all been to the shows and found ourselves in awe of the excellent effects that experienced modellers can achieve nowadays, but if you have never attempted ballasting before, the question you must be asking yourself is where on earth do you start?
There are many different types of ballast available differing in colour, size of stone and mix. The first thing you should do is decide what era and location your railway is to be set in. Modern-day railways (the last 40 years) use mainly imported ballast so will typically appear uniform light grey in colour regardless of location. Older railways were more likely to use stones from a local quarry so you need to do a bit of research to discover what colour ballast is right for your railway.
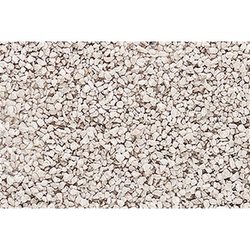
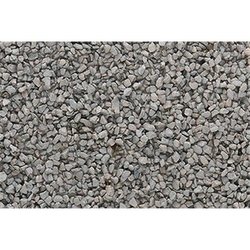
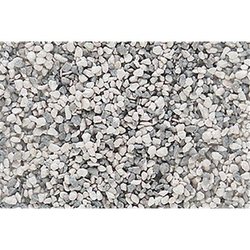
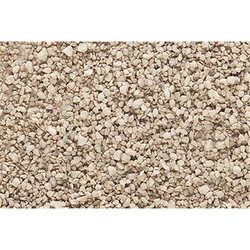
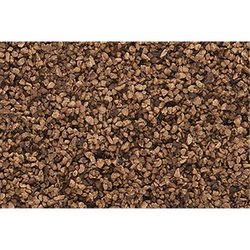
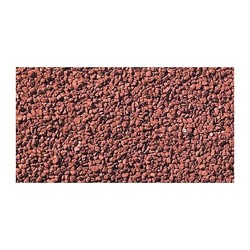
Here is an example of the many different colours of ballast available from the more typical greys and grey blends to more unusual brown, buff and even iron ore.
Once you have concluded which colour ballast to use, you should next consider what size of stone to use (fine, medium or coarse). You should consider using different sized stones on different parts of your layout. The less the track you are modelling would have been maintained in real life, then the finer the ballast needs to be, a siding or secondary line, for example, would have had a much greater build-up of ash, diesel oil, brake dust and general grime than a well maintained mainline so the material between the sleepers would appear much finer.
If you are not sure about which grade to go for, a good starting point is: fine for N gauge, medium for OO gauge and coarse for O gauge.
Then there is the application. If you want painted sleepers and rails this should be done before ballasting. If however, you're ready to proceed then ballast should be applied to the very top of the sleepers but without covering them, the exception to this is when ballasting around pointwork where ballast needs to be applied sparingly to avoid it getting jammed in the moving parts.
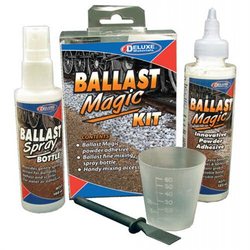
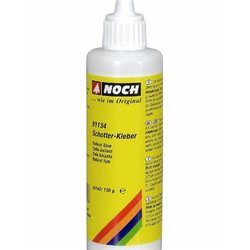
The traditional way to set ballast in place is to spray it with a fine mist of water, once the ballast is moist use a 50/50 mix of water and PVA along with a few drops of washing up liquid and gently drip it onto the ballast until all of the stones have soaked up the mixture then leave for at least 24 hours to set. If this sounds a bit complex, you can also get ready to use ballast glue or even Ballast Magic which is a dry powder that you mix with ballast, making application a lot easier and mess free.
Once your ballast is dry your rails will need a good clean to remove any ballast dust and glue before you run any trains.
Your ballast will probably look a little bit uniform at this stage. The key to making your tracks blend in is weathering. There are paints available for this exact purpose. The extent to which you weather your ballast is up to you but is always worth remembering that you can always add more if required so our top tip is to keep weathering light, to begin with.
The technique for effective realism when ballasting is the same as with most scenery and that is: layers. Your base layer should be built on with colours, textures and a hint of randomness. A very fine dusting of burnt grass topped with the odd weed will look fantastic at the end of a siding or bay platform track. Engine sheds need a build-up of ash or oil on the tracks and don't forget all of the spillages and fresh repair jobs that happen in a railway environment. Another top tip is to not skimp on your railway shoulders (the ballast to the side of the rails) as these can sometimes be quite substantial in the real world especially on mainlines.
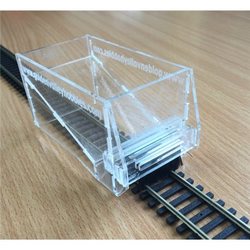
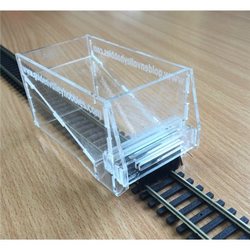
Below we have put together a selection of products that you may find helpful on your ballasting journey including a quick ballaster available in 00 and N gauge, a convenient kit containing everything you need to glue your ballast in place, a ready-mixed ballast glue specially formulated for the job, some burnt grass for those weedy sidings and some sleeper grime. Simply click on each picture for full details.
- Should we say H0 or HO?
- Why do the British use 00 gauge instead of H0?
- What is the difference between scale and gauge?
- Beginner's guide to semaphore signals
- How do you calculate scale speed?
Send us an email or give us a call to check availability or to reserve anything, whatever scale you model in. As usual, if we do not have in stock what you are looking for, we will order it for you and you will get it fast (usually within a week if the manufacturer has it in stock). We place weekly orders with most suppliers.
Upstairs Downstairs
3 Pier Street
Sandown, PO36 8JR
Isle of Wight
Tel: 01983 406 616
http://www.trainshop.co.uk or find us on Facebook
If for some reason you do not want to receive this newsletter anymore, click this link to unsubscribe
